Upload your first Run
Categories:
Create a Test and upload a Run
This tutorial will present the most basic thing Horreum can do: store your benchmark results in the form of JSON files.
We assume that you already went through the previous tutorial, Horreum is up and you are logged in.
User logged in
1. Create Test
Press the New Test button and fill the test name. Test names must be unique within Horreum.
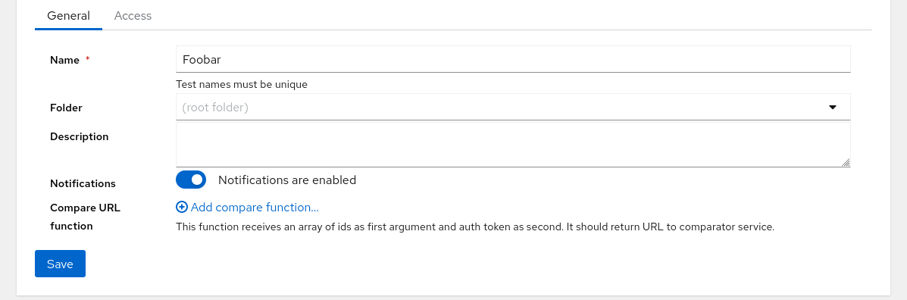
Create new test
Click on Save button on left side at the bottom - a blue banner will confirm that the test was created.
2. Prepare test data
Now we can prepare the JSON document representing our benchmark results - open /tmp/run.json with your favorite text editor and paste in this:
{
  "$schema": "urn:my-schema:1.0",
  "throughput": 1234.5
}
3. Generate API Key
To interact with the REST API, you will need an API Key, please follow the instructions to generate an API Key
4. Upload Data
Now copy and paste this into shell; the reply will be just 1 - the ID of the newly uploaded run.
API_KEY='HUSR_00000000_0000_0000_0000_000000000000'
TEST='Foobar'
START='2021-08-01T10:35:22.00Z'
STOP='2021-08-01T10:40:28.00Z'
OWNER='dev-team'
ACCESS='PUBLIC'
curl 'http://localhost:8080/api/run/data?test='$TEST'&start='$START'&stop='$STOP'&owner='$OWNER'&access='$ACCESS \
    -s -H 'content-type: application/json' -H "X-Horreum-API-Key: $API_KEY" \
    -d @/tmp/run.json
5. View Data in Horreum
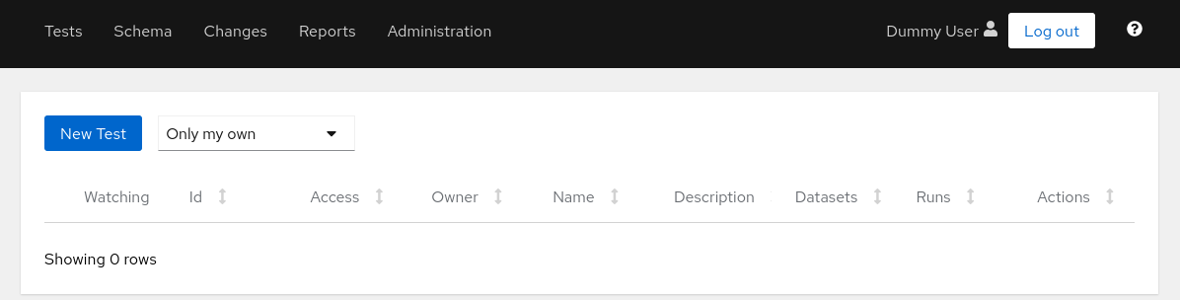
Let’s navigate into the tests overview (main page) by clicking the Tests link in the main menu on the top left of the page:
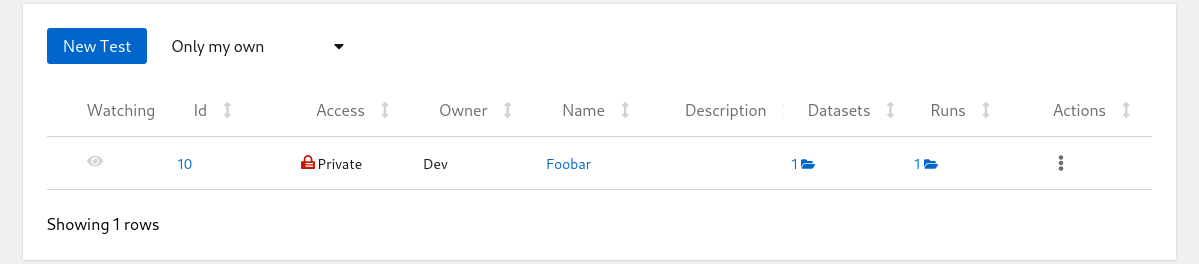
List of Tests
Click on the run count number with open-folder icon to see the listing of all runs for given test:
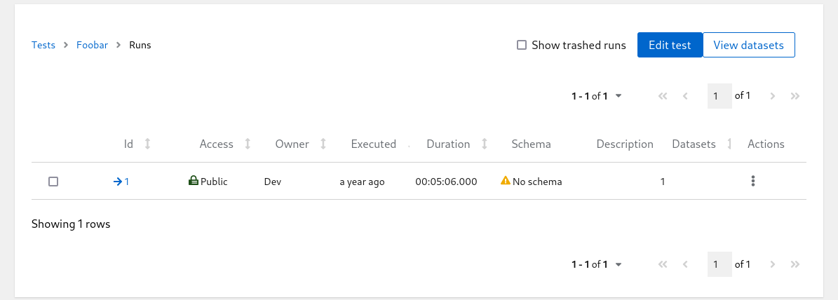
List of Runs
At this point don’t worry about the ‘No schema’ warning. Hit the run ID with arrow icon in one of the first columns and see the contents of the run you just created:
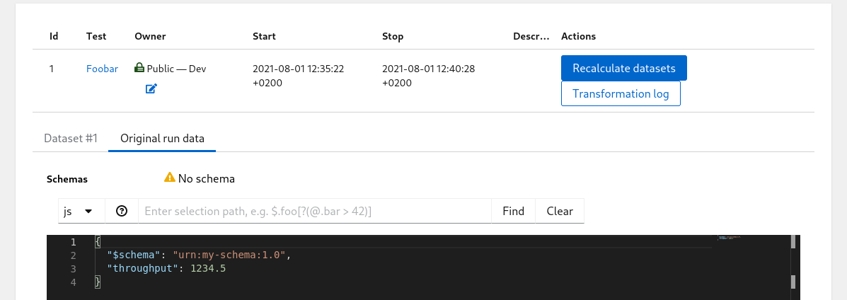
List of Runs
Feedback
Was this page helpful?
Glad to hear it! Please tell us how we can improve.
Sorry to hear that. Please tell us how we can improve.